 NativTap
Before you begin
- Nativtap asks for an app name and an app icon before it creates a release.
- Prepare the icon as a PNG that is exactly 1024 × 1024 px with no transparency.
- Prepare the launch screen as a PNG or JPEG that is exactly 1125 × 2436 px. Or let Nativtap make one from your header logo.
- Each file must be 5 MB or smaller.
- The rest of the listing, such as the description and keywords, is in the article Write your App Store listing.
Set your app name
Under the name field, Nativtap says Shown on the App Store and under your app icon. Ships with your next release.
- From your Shopify admin, go to Nativtap > App submission > Manage App Store.
- Select the App listing tab. The name, icon and launch screen are at the top of the App Store listing card.
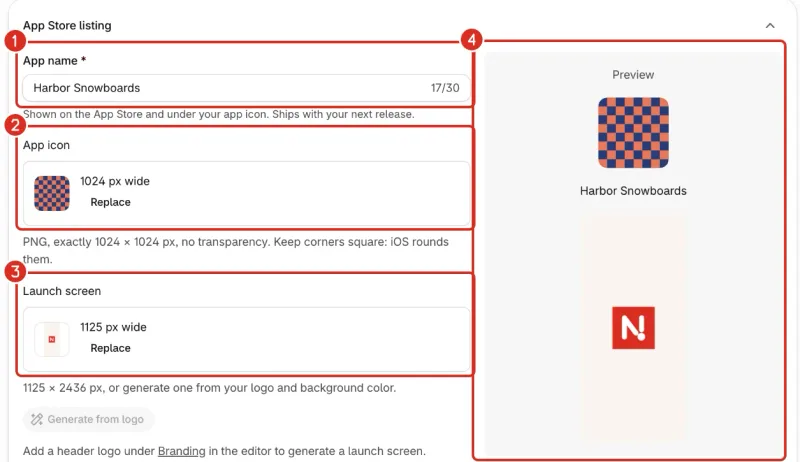
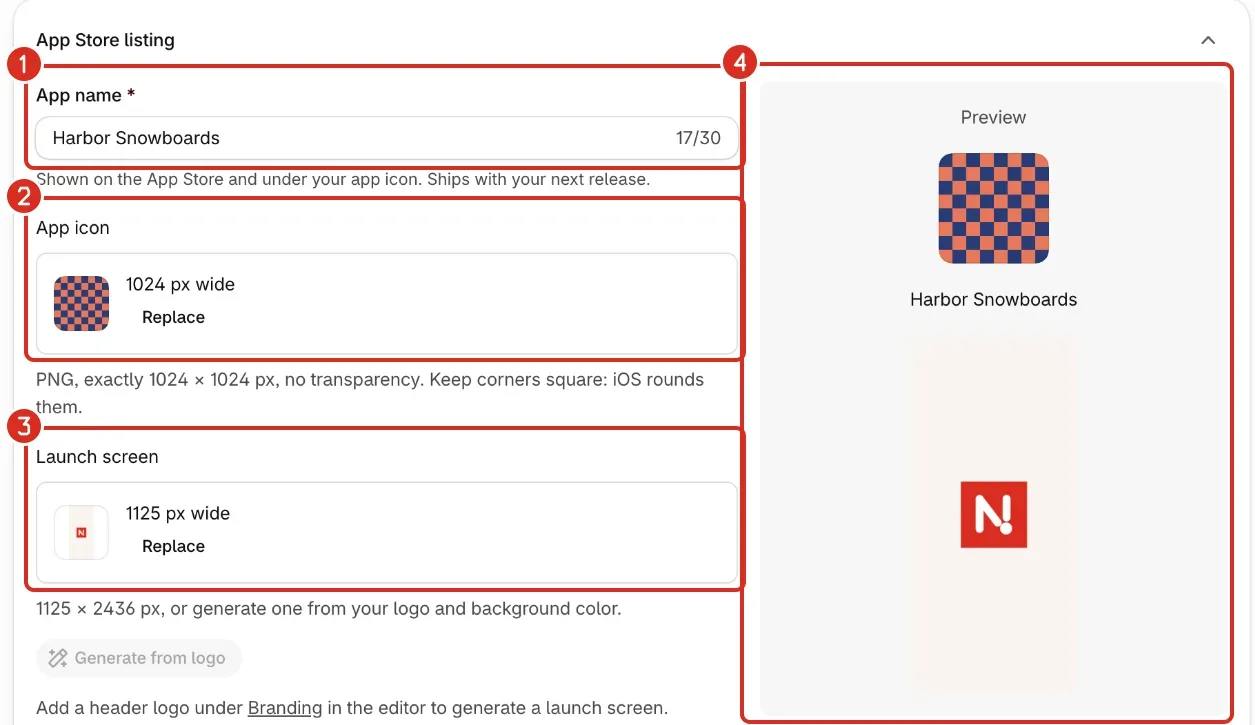
1: App name. 2: App icon. 3: Launch screen. 4: Preview. - Enter your App name. It is required and holds up to 30 characters. The counter in the field shows how many you have used.
Add your app icon
- Under App icon, add your PNG file. It must be exactly 1024 × 1024 px with no transparent pixels. The field shows Uploading… and then Processing…. When it finishes, the icon appears with a Replace button beside it.
Keep the corners of the image square. iOS rounds them for you. To use a different file, select Replace and add another PNG.
Add your launch screen
The launch screen is the full-screen image shoppers see while your app opens. You can add your own file or generate one.
Add your own file
- Under Launch screen, add a PNG or JPEG file that is exactly 1125 × 2436 px. The field shows Uploading… and then Processing….
Generate a launch screen from your logo
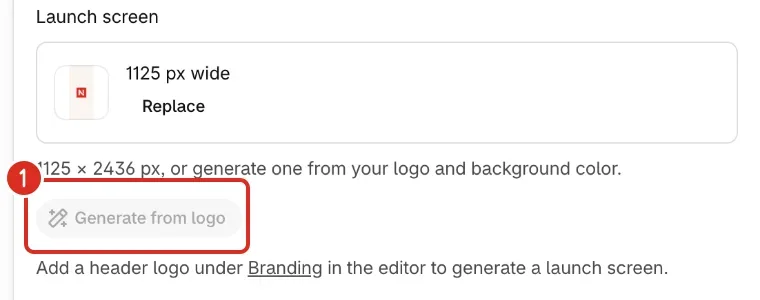
- Read the line under Generate from logo.
- If it says Add a header logo under Branding in the editor to generate a launch screen., select Branding. The editor opens on the Logo group. Otherwise, skip the next two steps.
- In the Logo group, add a transparent PNG under Header logo.
- Return to the App listing tab.
- Select Generate from logo. Nativtap builds the image from your header logo on your Background color, which you set under Branding > Colors in the editor.
- Check the result in Preview once the field has finished processing.
Check the preview and save
- Read Preview on the right of the card. It shows your icon, your name under it, and your launch screen below.
- Select Save in the Shopify save bar. A message says App name and icon saved. Select Discard to go back to what you saved last.
The name, icon and launch screen don't save by themselves. Until the next release, the app on the App Store keeps the old ones. To send the changes, read Release your app on the App Store.
Common problems
- Enter an app name
- The App name field is empty. Type a name, then select Save.
- App name must be 30 characters or fewer
- Shorten the name. Each character counts as one, but some emoji are made of several characters.
- App icon must be a PNG
- Export the icon again as a PNG file and add it again. A file that is not a PNG can also get This image must be a PNG.
- App icon must be exactly 1024×1024 px
- The message ends with the size of your file. Resize the image to exactly 1024 × 1024 px and add it again.
- App icon must not have transparent pixels
- Fill the transparent areas with a solid color, export the PNG again and add it.
- Launch screen must be exactly 1125×2436 px
- The message ends with the size of your file. Resize the image to exactly 1125 × 2436 px and add it again, or select Generate from logo.
- Images must be 5 MB or smaller
- Export the file again with a smaller file size. Both the icon and the launch screen have this limit.
- Launch screen must be a PNG or JPG
- A GIF can't be a launch screen. Export the image as a PNG or JPEG and add it again.
- The file is empty
- The file has no content. Export it again from your design tool and add the new file.
- Image is too large (max 10000 px on a side)
- The image is wider or taller than 10,000 px. Resize it to the exact size the field asks for and add it again.
- This file type isn't supported here
- Add a PNG for the icon, or a PNG or JPEG for the launch screen.
- This file is not a valid image
- The file can't be read as an image. Open it on your computer to check it, or export it again, then add it.
- Upload the app icon again
- The icon you chose is no longer available. Add the file again, then select Save. The launch screen has the same message with launch screen in it.
- The app icon is still processing
- Wait until Processing… has gone, then select Save. The launch screen has the same message with launch screen in it.
- Add a header logo under Branding in the editor first
- Your draft has no header logo, so there is nothing to build the launch screen from. Add a transparent PNG under Header logo in the Logo group of Branding, then select Generate from logo again.
- Logo must be a PNG with a transparent background
- The header logo can't be used. Add a transparent PNG under Header logo in the editor, then select Generate from logo again.
- Your logo is N px wide; 512 px or wider is recommended. The launch screen may look blurry.
- The message shows your logo's real width instead of N. This is a warning, and you can still generate. For a sharper launch screen, add a header logo that is 512 px wide or more.
- Couldn't save your app identity
- Your changes stay on the page. The banner gives the reason. Your session expired. Reload the page and try again. means you must reload the page, which drops unsaved changes. For Something went wrong. Try again. or a connection message, select Save again.
- Couldn't load your app identity
- The rest of the page still works. Select Reload page in the banner.
- Add your app name.
- This is a line in Before you submit on the Releases tab. Select it, then enter the App name.
- Upload an app icon.
- This is a line in Before you submit on the Releases tab. Select it, then add the icon under App icon.
- Add your app name and icon first
- The release can't start until both are saved. Add them, select Save in the save bar, then create the release again.
- Apple rejects these words in your app name
- The message lists the words. Change the App name, then select Save. Write your App Store listing explains which words Nativtap checks.
Related
Something wrong or out of date on this page? Tell us by email.
Still stuck?
Send us the exact message you see, and what you already tried.