 NativTap
Before you begin
- You can design your app while Apple reviews your enrollment. The Setup guide steps do not wait for each other.
- You can create a release only after you connect your Apple account, link your app, publish your design once, and fill in the required listing fields.
- You can submit a release only after you fix every line marked Fix in Before you submit.
- Apple decides how long enrollment and App Review take, so yours can differ. While your release is in review, the Releases tab shows how long it usually takes.
- Varies means the time depends on you or on Apple, so Nativtap has no time to promise. Apple processing is the exception: Nativtap measured 2–9 minutes on its own test builds.
See the steps
| Step | What to do | Who does it | How long |
|---|---|---|---|
| Design your app | Copy from your online store or start from a theme, add blocks and publish. Submit for review needs at least 3 blocks on Home. | You | Varies |
| Enroll in the Apple Developer Program | Enroll with Apple, then wait for Apple to approve you. | You, then Apple | Varies |
| Connect your Apple account | Add your App Store Connect API key. Create your app in App Store Connect, then select Check app record. Nativtap registers the bundle ID for you. | You | Varies |
| Fill in your App Store listing | Set your app name and icon, write the listing, add at least 3 screenshots and add your App Review contact. | You | Varies |
| Create a release | Select Create release. Nativtap builds your app and uploads it to Apple. | You start it, then Nativtap | Varies |
| Apple processing | Apple processes the build Nativtap uploaded. | Apple | Usually 2–9 min |
| Answer App Privacy | Enter your answers in App Store Connect and publish them, then confirm in Nativtap. | You | Varies |
| Add your products | Put at least 10 products with images in the Nativtap sales channel. | You | Varies |
| Prepare for app launch | Turn on a push automation, such as the abandoned cart reminder. | You | Varies |
| Submit for review | Fix every line marked Fix in Before you submit, then select Submit for review. | You | Varies |
| App Review | Apple reviews your app. | Apple | Varies |
| Live on the App Store | The release shows Live. Select View on the App Store to open your app's page. | Apple | Varies |
Read more about each step:
- Design your app: Start your app design and Design your app.
- Enroll in the Apple Developer Program and Connect your Apple account: Connect your Apple account.
- Fill in your App Store listing: Set your app's name, icon and launch screen, Write your App Store listing and Create your App Store screenshots.
- Create a release, Apple processing, Submit for review, App Review and Live on the App Store: Release your app on the App Store.
- Answer App Privacy: Answer App Privacy.
- Add your products: Publish your products to the app.
- Prepare for app launch: Send push notifications.
Check where you are
- From your Shopify admin, go to Nativtap > Home.
- Read the Setup guide. Each step is marked Done or shows how long it takes.
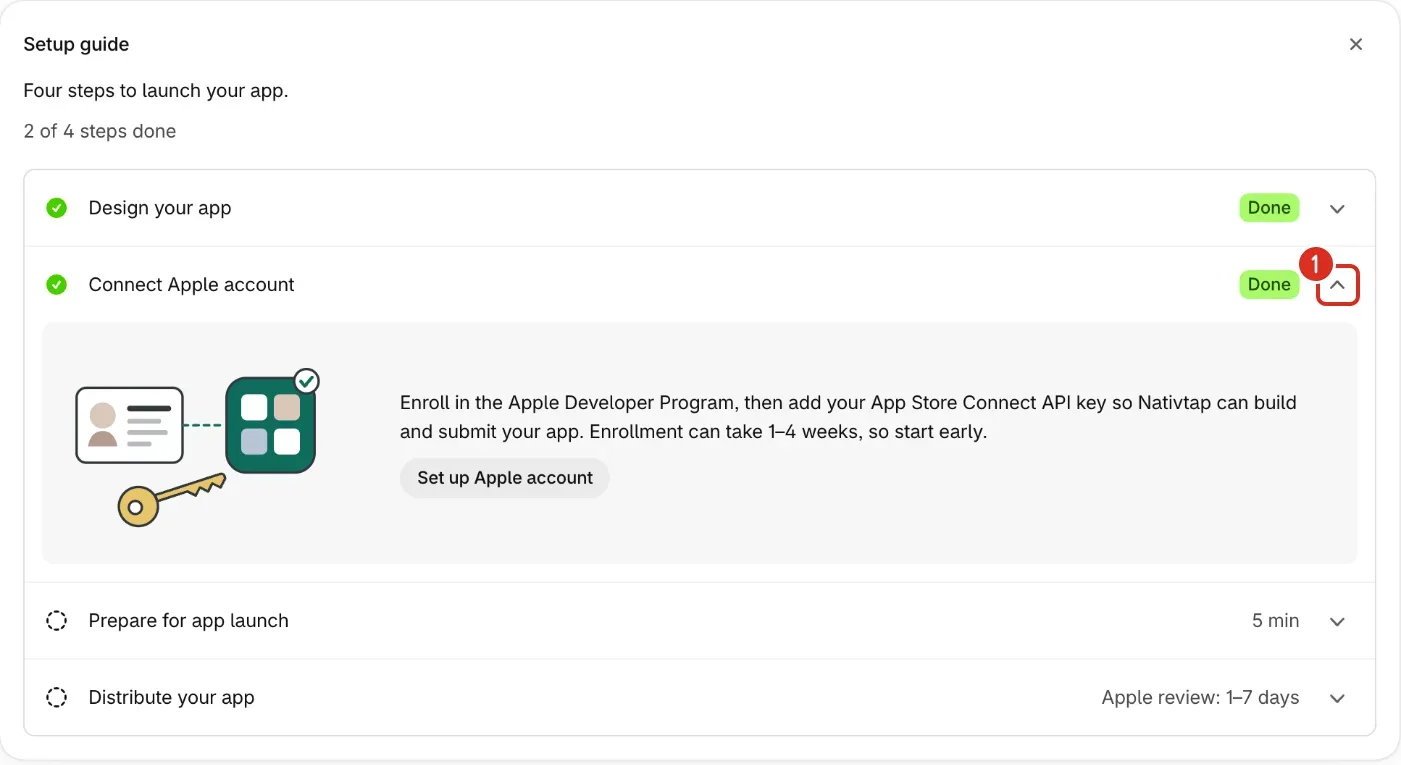
- Select the arrow next to a step to read its details. Its button opens the screen where you do it. In the screenshot, Design your app and Connect Apple account are already Done.
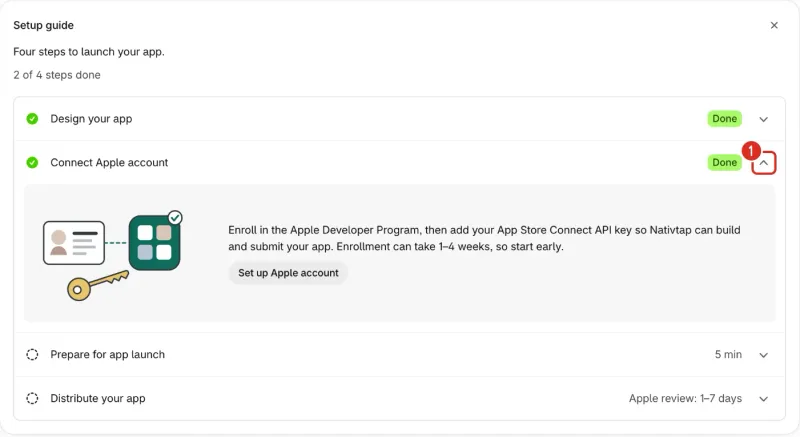
1: The arrow that opens or closes the details of a step. - If Connect Apple account has a Takes the longest badge, start there. The badge goes away once you record Apple's approval in Nativtap, connect your API key, or send a release to Apple.
- To follow a release, go to App submission > Manage App Store.
- Open the Releases tab. The tracker lists Build, Apple processing, Submit for review, App Review and Live on the App Store.
Common problems
- Connect Apple account is not marked Done after I enrolled
- Enrolling is not enough. The step is done once Nativtap verifies your App Store Connect API key. See Connect your Apple account.
- Connect your Apple account first
- The Create release dialog says this until Nativtap verifies your API key. Add the key under Settings > Apple account.
- Connect your App Store Connect app first
- The Create release dialog says this when your key works but your app record is not linked. Create the app in App Store Connect, then select Check app record under Settings > Apple account.
- Finish your App Store listing first
- The Create release dialog names each required field that is still blank. Fill them in, then create the release. See Write your App Store listing.
- Add your app name and icon first
- The Create release dialog shows this under What's new in this version. Set App name and App icon on the App listing tab of App submission > Manage App Store, then create the release. See Set your app's name, icon and launch screen.
- Publish your app content once before creating a release
- The Create release dialog shows this under What's new in this version. A release needs a published design: publish it from the editor, then create the release. See Design your app.
- Nothing has changed since your last release.
- The Create release dialog says this when only blocks, pages, theme or navigation changed. Those edits reach your app without a new release. A new release carries a change to your app name, icon, launch screen or listing, or a new Nativtap version.
- I don't see the Setup guide
- You may have hidden it. Select Show setup guide at the top of Home. Once your first release is live, the Setup guide no longer shows.
Related
Something wrong or out of date on this page? Tell us by email.
Still stuck?
Send us the exact message you see, and what you already tried.